
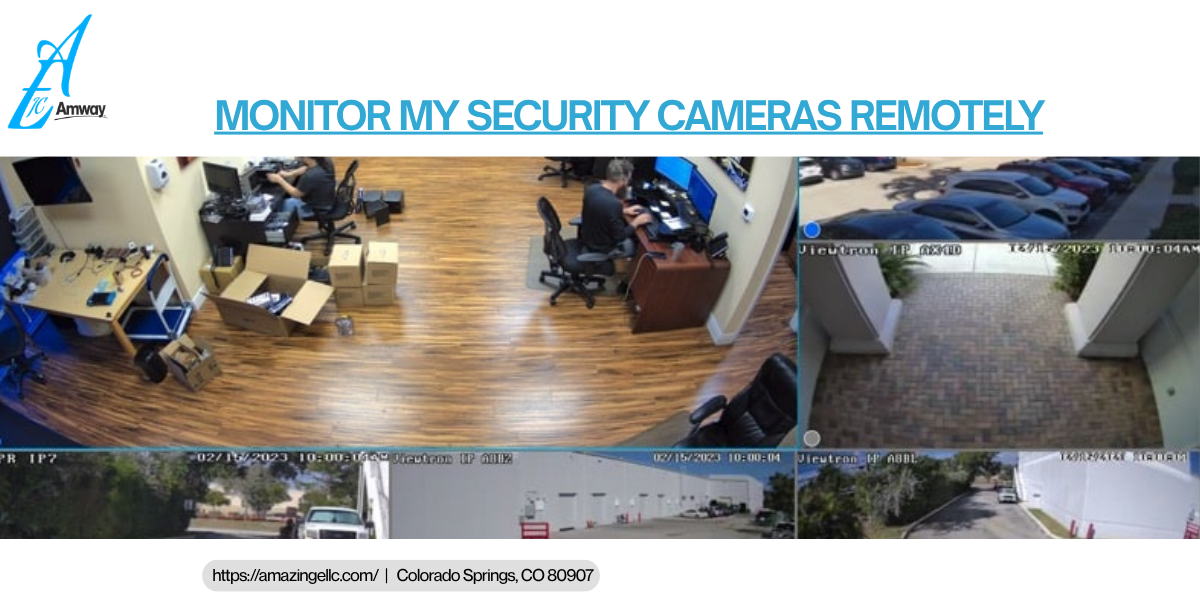
For remote video monitoring, you can use manufacturer-provided mobile apps, desktop Video Management Software (VMS), or a web browser via IP configuration. The easiest and most secure way for modern security camera remote access is the official companion application. Understanding how to monitor security cameras remotely gives you live access to your property from anywhere using your smartphone or computer, so you get real-time alerts and better control over your safety.
Use the Manufacturer’s Mobile App
Most modern camera systems use secure cloud-based P2P (peer-to-peer) technology to link the hardware to your smartphone effortlessly.
Download the app.
- Search for the official app (made by your camera brand) on the Apple or Google Play Store.
- Download it and create an account. Enable two-factor authentication (2FA) for security.
- Tap the + icon or “Add Device” button.
Link via QR Code
- Scan the QR code printed on the sticker of your camera or NVR/DVR box.
- Allow camera permissions if the app asks.
- Follow the on-screen prompts to link the camera to your local wifi network or router.
- Assign a clear name to the device based on its location, such as front door or office.
Turn On Remote Access
Check the camera’s network settings to ensure the P2P cloud status shows as ‘online.’
Test the Feed
Turn off your smartphone’s wifi. Switch to mobile data and confirm you can view the live stream away from home.
Access Via a Web Browser Portal
Many brands offer centralized desktop viewing through their dedicated online portals.
Requirements include
- IP address
- Port number
- Credentials
- Network setup
| Some camera interfaces display multiple live camera feeds smoothly only on specific browsers or require specific viewer extensions. |
Navigate the Portal.
- Log on to your local network router or use a device configuration tool provided by your camera brand to find the internal IP address.
- Locate the HTTP port number. Change it from port 80 to a custom port like 3333. Reboot the camera to apply changes.
Configure Remote Access
P2P Cloud Method
Enable the Platform Access or P2P (Peer to Peer) setting in your recorder’s network menu. This lets you log in to your manufacturer’s portal without manual router configuration.
Port Forwarding Method
Log in to your router’s admin page and create a virtual server or port-forwarding rule that directs external traffic to your camera’s local IP address and a custom port. Note your router’s public WAN/IP address.
Log In
- Open a standard web browser (Google Chrome, Microsoft Edge, or Firefox).
- Type the address in this format: http://IP-Address:PortNumber.
- Enter your username and password.
Load the Dashboard
- Double click your device name to load multi-camera grid views directly in your browser.
- Install any requested browser plugin or ActiveX control if prompted by older legacy systems to enable the live video stream.
| Always change default factory passwords immediately to prevent unauthorized public access to your video streams. |
Use Local NVR/DVR Software (Remote CCTV Monitoring)
- If you have a traditional hardwired PoE or analogue security system with a network video recorder (NVR), you can view it via the local computer.
- Download the manufacturer’s official Video Management Software (VMS) client on your PC or Mac.
- Connect the computer to the same local router as your NVR to discover the system’s unique serial number or cloud ID.
- In the VMS device manager, manually add your system using the NVR serial number, user name, and password to monitor feeds.
Configure Port Forwarding
If you are using a standalone IP camera without a dedicated app, you can map your home router settings to view the feed via its raw IP address.
| Security experts caution against using this method to view security cameras remotely. Opening public ports increases vulnerability to unauthorized access. |
- Set a permanent static IP address for your camera within your network configuration.
- Find the HTTP port in the camera’s local web configuration page.
- Open router settings and locate the ‘Forwarding’ or ‘Virtual Servers’ menu.
- Type in your camera’s local IP address and specific HTTP port.
- Set up a Dynamic DNS (DDNS) service to give your home network a specific web link. For example, yourname.autodns.com
- From an outside network, open a browser and type your WAN IP or DDNS domain followed by the port number.
Conclusion
You can monitor your security camera remotely by logging into the manufacturer’s official mobile or computer app, enabling P2P cloud viewing, or by connecting your camera or recorder to your internet router. A self-monitored setup provides peace of mind, letting you catch issues (like break-ins) early before they get worse.
Amazing E LLC provides property owners and businesses with customized security solutions that improve safety while making property management easier and more efficient.
FAQs
What is the easiest way to view my cameras away from home?
Use a P2P cloud relay used by most modern security cameras. Download your camera’s official app, log in, and scan the unique QR code on your camera or NVR/DVR recorder box. This method connects your phone and camera through the manufacturer’s secure server without requiring complex network configurations.
Do I need a special public IP address or port forwarding?
If you use the cloud/P2P method, you do not need a public static IP address. Advanced users sometimes use DDNS and port forwarding, but it is not recommended for beginners because it can create security risks if reconfigured.
How can I keep my remote viewing secure from hackers?
Always replace factory default usernames and passwords with strong, unique credentials. Turn on 2FA or multifactor authentication (MFA) on your surveillance app account. Regularly install software updates for your cameras, NVRs, and home internet router.